HCM Explainer Video – Best Practices!

Published:

05/04/2023
Hello and welcome fellow readers of this blog!

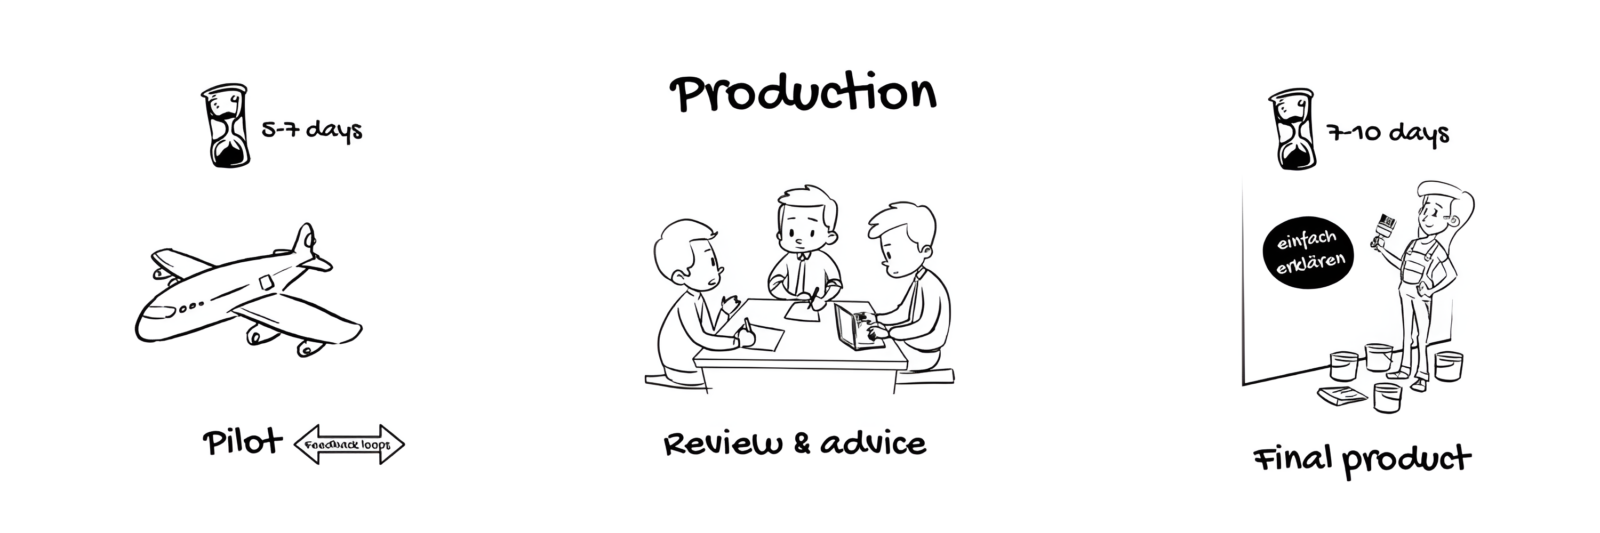
As you might have seen, the HCM Consultant Group has released an ´Explainer Video´ recently. If you are currently reading this blog and have not yet viewed the HCM Explainer Video, grab your popcorn and watch the video first. I look forward to welcoming you back to this blog after you’ve indulged yourself in the video.

In this blog, I will not only be talking about why we created this video, but rather I will be revealing the ´Best Practices´ that resulted from it.

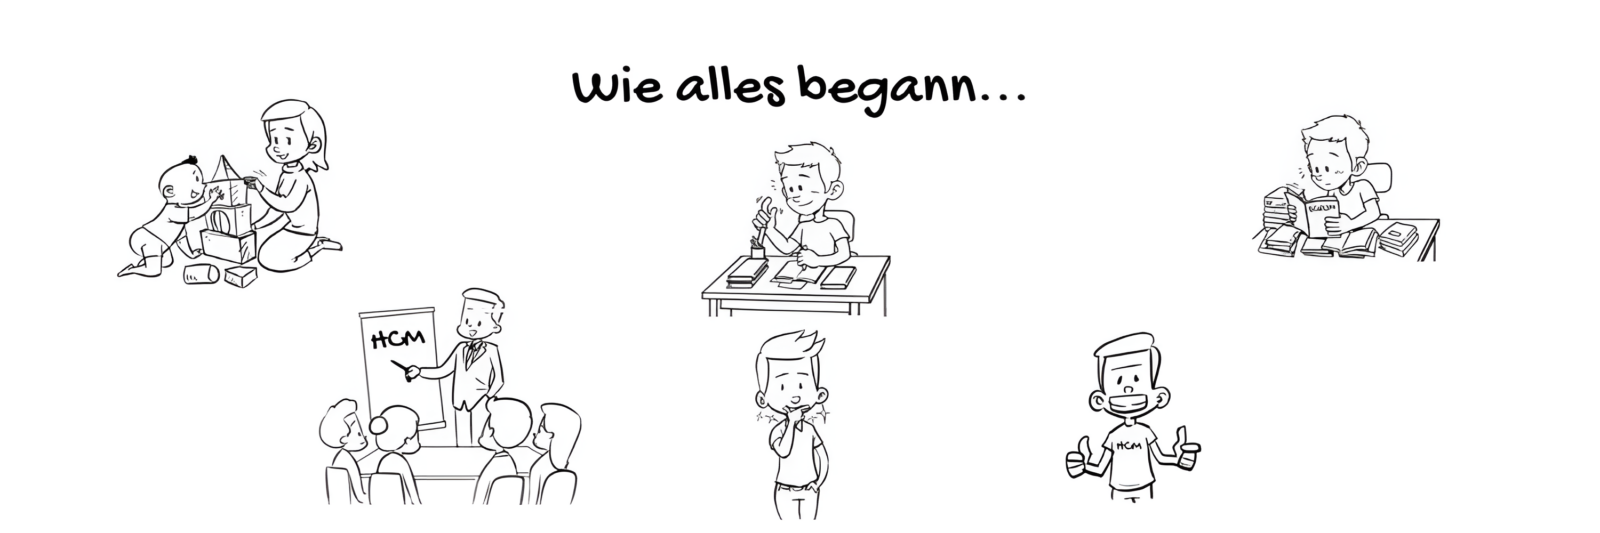
As you would have noticed, in this video you experienced who we are, what we do and in particular; what makes us unique in consulting. There is one common question all industries across the world are constantly asked. From the consulting branch to an engineering company. From medical institutions to the agricultural industry.

And this question is: ´What exactly is it that you do? What makes you unique? ´ Well, how easily and clearly it can be explained through such a video.

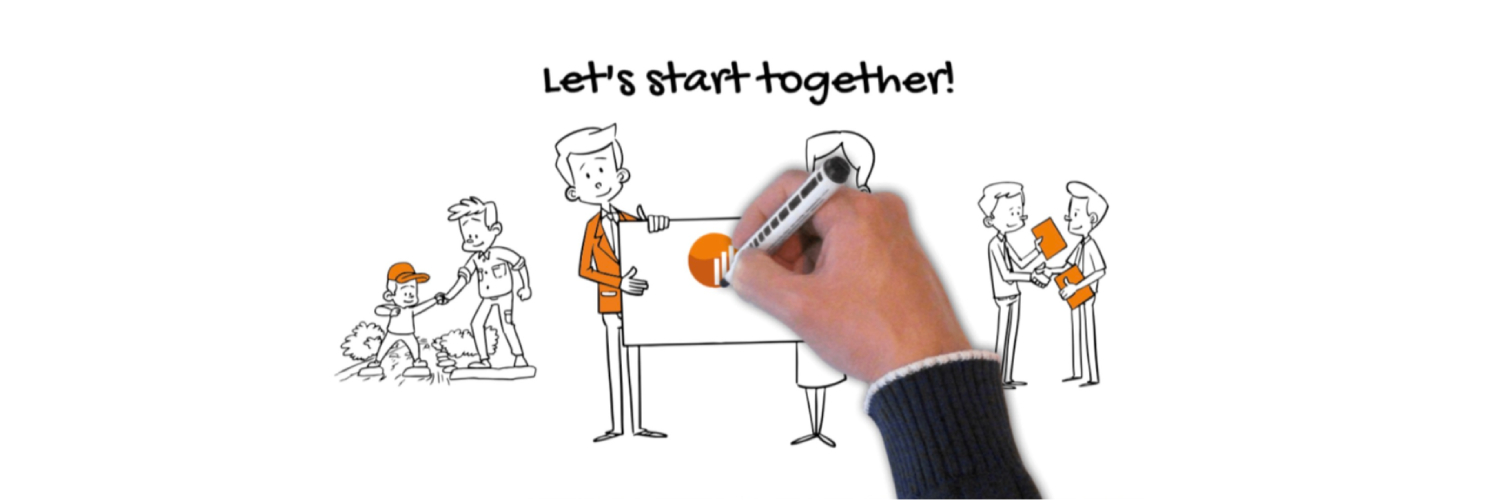
After having completed the video, a thorough reflection on possible `Best Practices´ was done. I would like to share 5 Best practices with you today, in the hope that it may serve as enlightening, interesting and fruitful information for anyone interested in conducting such a project, or similar projects alike.

1) Main effort driver

Plan 40-50% of the effort for the pilot and its coordination. When producing an explainer video, you should take a pilot approach from the beginning. An important milestone you should focus on is getting a pilot ready as soon as possible. The main reason for this is that it takes a lot of effort to align the various components of the pilot: Language, content, graphics, sound, speed, etc. The sooner the better. It is important to get in close contact with your sponsor. Please also take into account the effort required to adapt the pilot to the next stages of maturity. In terms of the overall video production effort, you should plan up to 50% for the pilot.

2) Own video per language

Based on your target audience, it is suggested to create videos in multiple languages instead of using subtitles. Most of our target audience speaks English and German. The content, imagery, sound and length in both videos are identical. However, one video is in English and the other video is in German. A German version and incorporating English subtitles beneath the video would not only distract the viewer from the imagery, but it would also simply take away the ´taste´and ´glamour´of watching such a video. Hearing a video in the language the viewer best understands adds an undescribable amount of value, comprehension and interest for the viewer. The extra hours invested in re-recording the English audio was certainly worth it.

3) Manual post-processing

Allow for time for manual post-processing of video details. It is inevitable that diverse graphic taste will appear within the client team. One client team member will prefer an image looking this way, whilst another will prefer an image looking that way. Collect your team’s feedback and incorporate it into the video. As the client team that created this Explainer Video assembled, many ideas were discussed. For example, many images received a touch of orange colour which was used as a visual effect. Be aware that small graphic changes to the video could be time-consuming.

4) Agile approach

Work in an agile team and define small work packages. As mentioned under 1) already, the first major achievement should be the deployment of a video pilot. The entire project should follow an agile approach where small work packages are defined instead of larger milestones. This will help to manage the important interaction with the client during the very demanding pilot phase. Regular communication with the client and individual interviews with selected reviewers are very important in such a project. The smaller the work packages are, the easier they are to achieve.

5) Additional microphone

Invest money in a separate microphone. It sounds that simple, but it is a significant improvement in audio quality. Since audio is so important to portray your message in the video, you should use a separate microphone instead of the built-in one on your notebook or desktop PC. There are very simple microphones that you just need to connect via a USB port, and after a quick setup, it’s ready to use. It will be a very good investment.

I hope this post has given you some interesting insights into our explainer video production and its best practices. The entire process is highly interesting, educational and a lot of fun!

ABOUT THE AUTHORS

Hello ladies and gentlemen! My name is Lucas Ruf and I am 21 years old. I matriculated in South Africa at the end of 2019 and currently live in Austria after successfully completing my military service. Now I am studying International Business Administration at the University of Vienna and am also granted the privilege of working with HCM. I really enjoy my time together with this fantastic team. Traveling, social work, languages, networking, sport and playing music are just a few of my desired hobbies. I am a true believer in good deeds and an adventurous life!


Dear readers, my name is Sebastian Schiller and with my 58 years I have some experience and best practices to share. Project management, leadership, knowledge management and teamwork are some of my main areas of interest. Since my time as an expat in Japan, this country, its culture and especially the people are very close to my heart. My attitude: Learn for life!

More articles in this series

We use cookies to personalise content and ads, to provide social media features and analyse our traffic. We also share information about your use of our site with our social media, advertising and analytics partners who may combine it with other information that you’ve provided to them or that they’ve collected from your use of their services.

Accept
Reject Cookies